🖥️ wacraft UI Walkthrough
Welcome to a quick tour of the wacraft‑client interface. This guide covers the daily workflow for operators and admins, from chatting with contacts to managing workspace members and billing.
1 — Layout at a glance
| Area | What you'll find |
|---|---|
| (A) Sidebar | Vertical icons for Chats, Templates, Campaigns, Webhooks, Phone Configs, Workspace Members, and more. |
| (B) List panel | Context‑aware list (chats, templates, etc.). Supports search and column sort. |
| (C) Workspace | Main content: conversations, builders, settings. |
| (D) Utility bar | Per‑page actions (menu, filter, CSV export, etc.). |
| (E) Composer / Footer | Message input or save / edit buttons. |
Keyboard power‑users: press Ctrl / anywhere to open the shortcut cheat‑sheet.

2 — Chats & Conversation tools
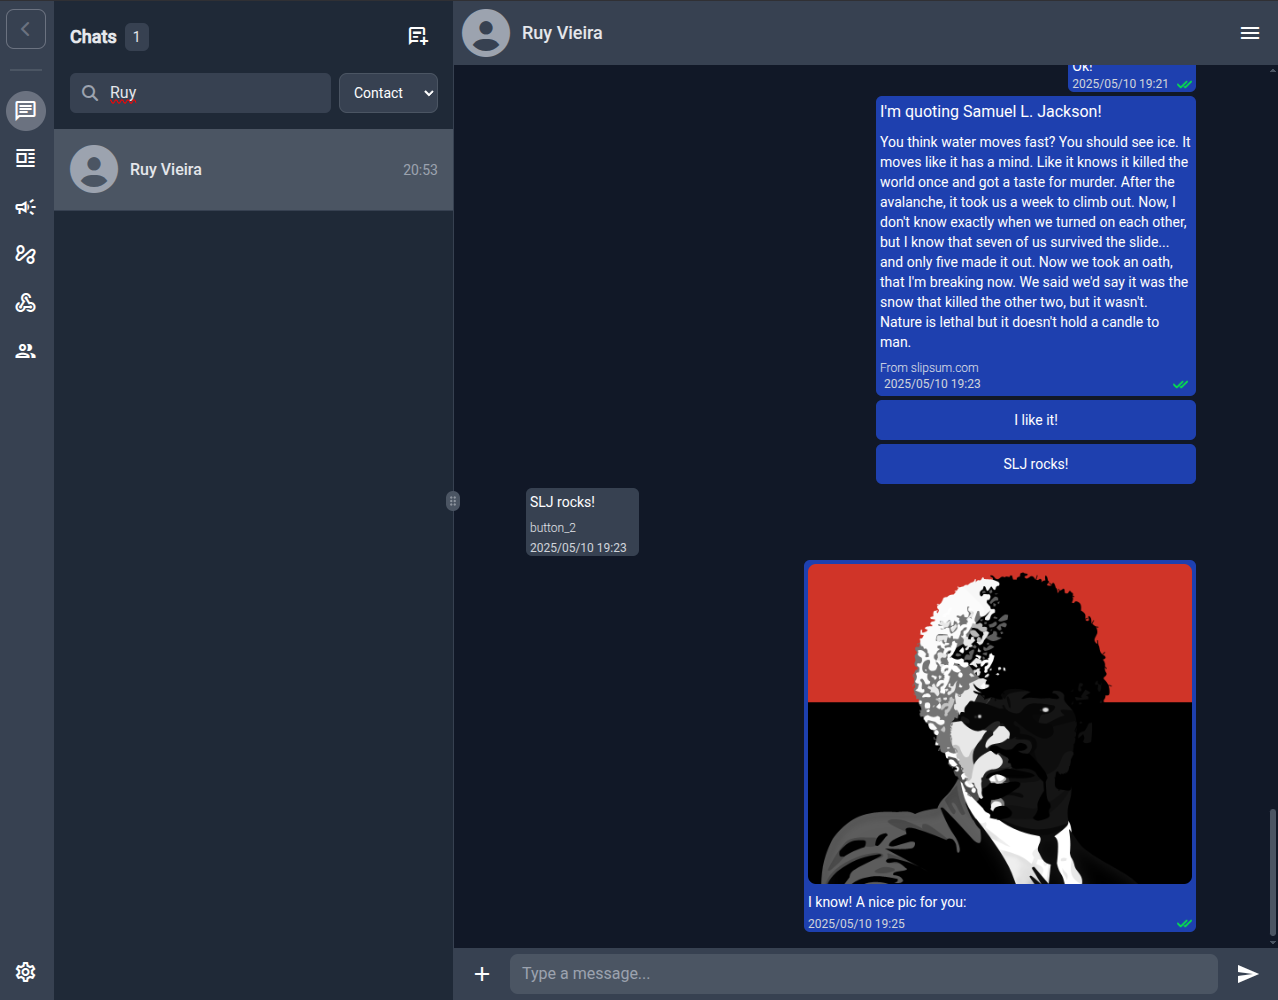
2.1 Live chat
- Hover and click the corner or press Enter to open message options: reply, mark as read, view metadata or add reaction.
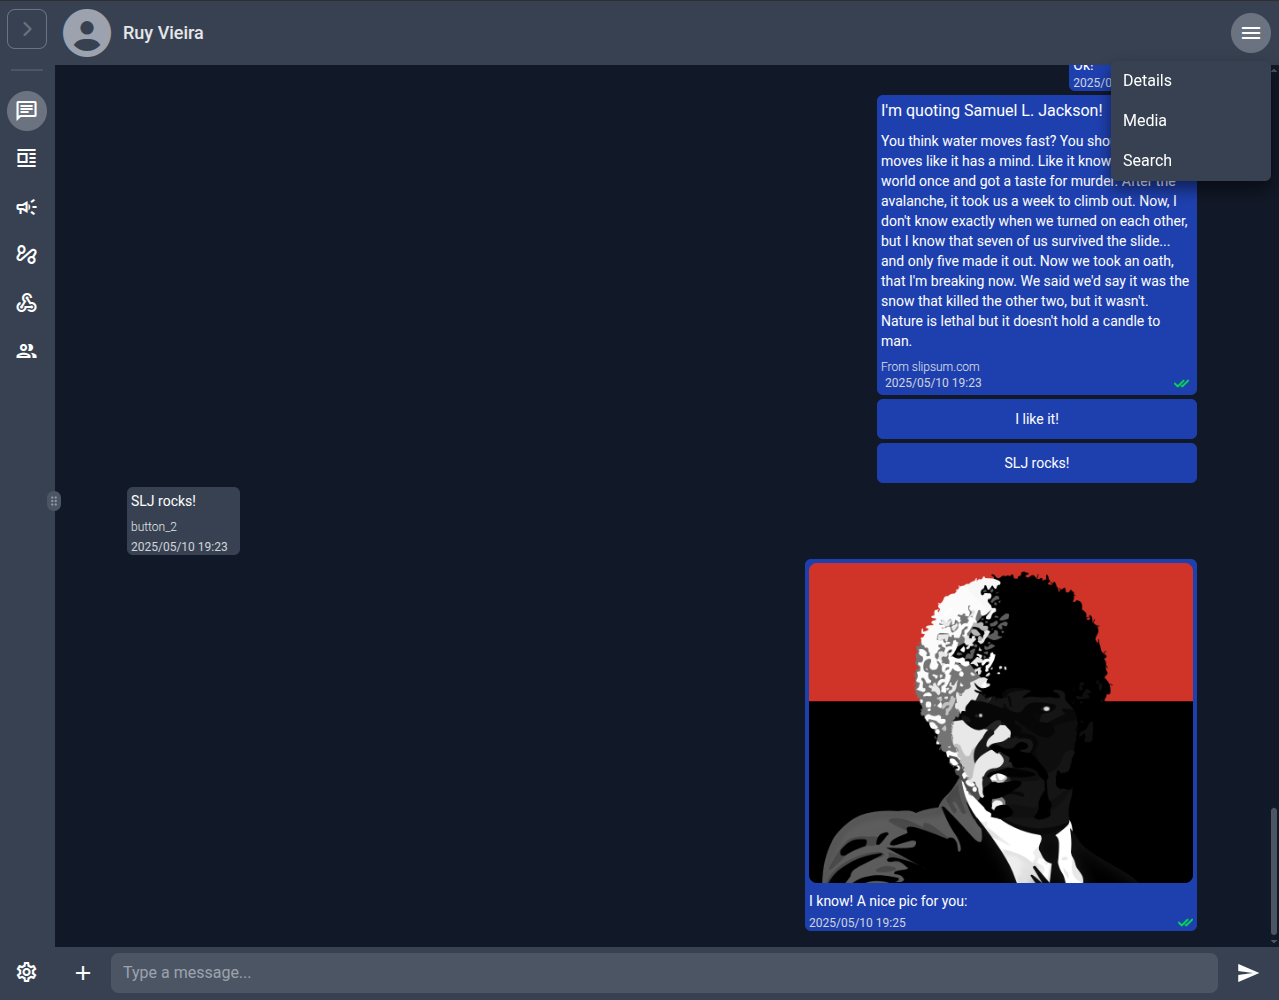
- Click the hamburger menu (⋮) for conversation options: contact details, shared media and message search.
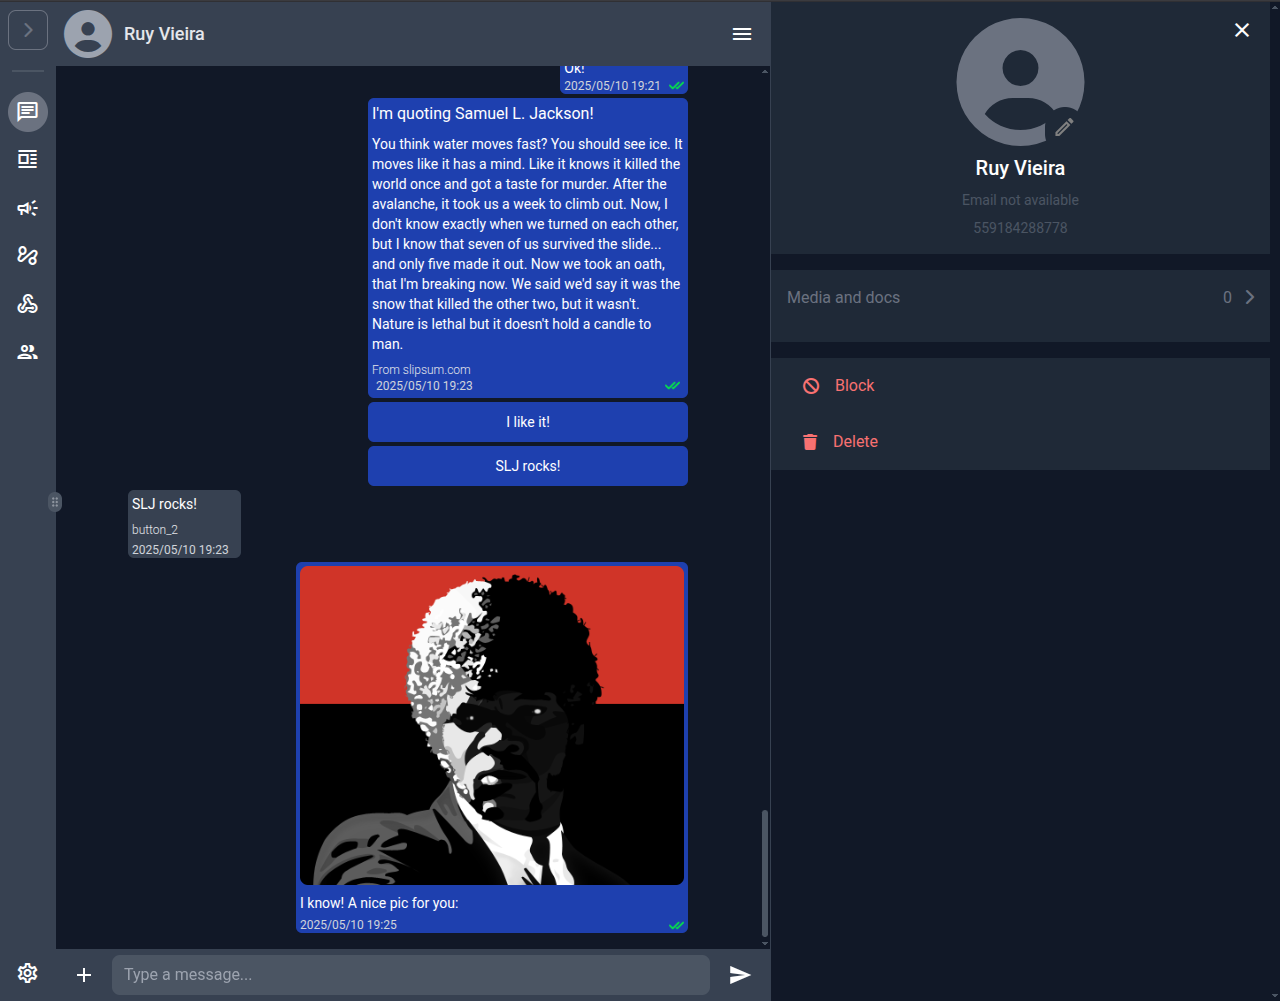
2.2 Contact details & Media gallery
| Details panel | Media & docs |
|---|---|
 |
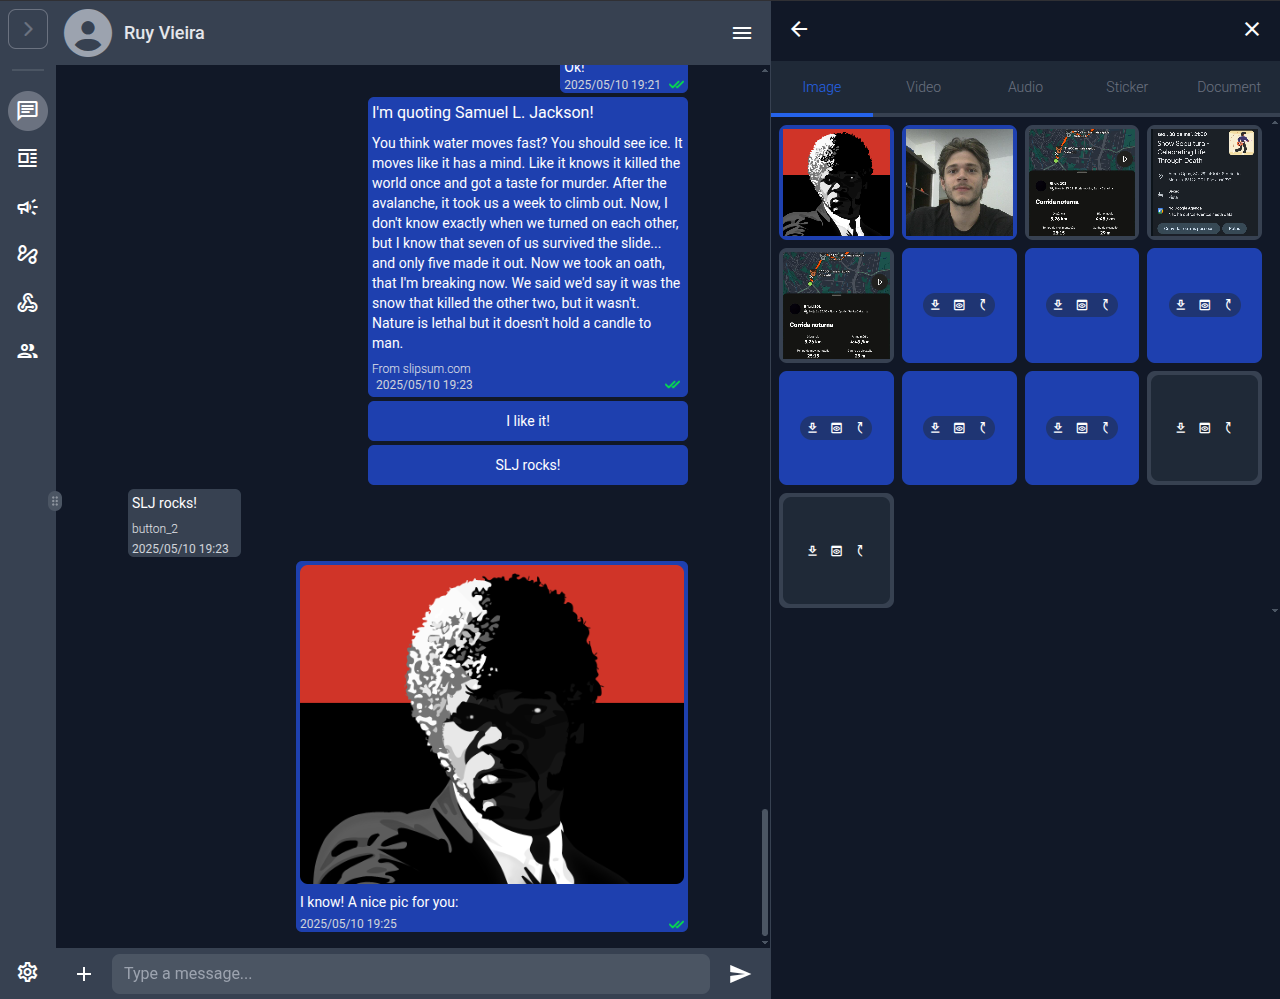 |
Both panes slide in from the right without leaving the chat context.
3 — Account & Local settings
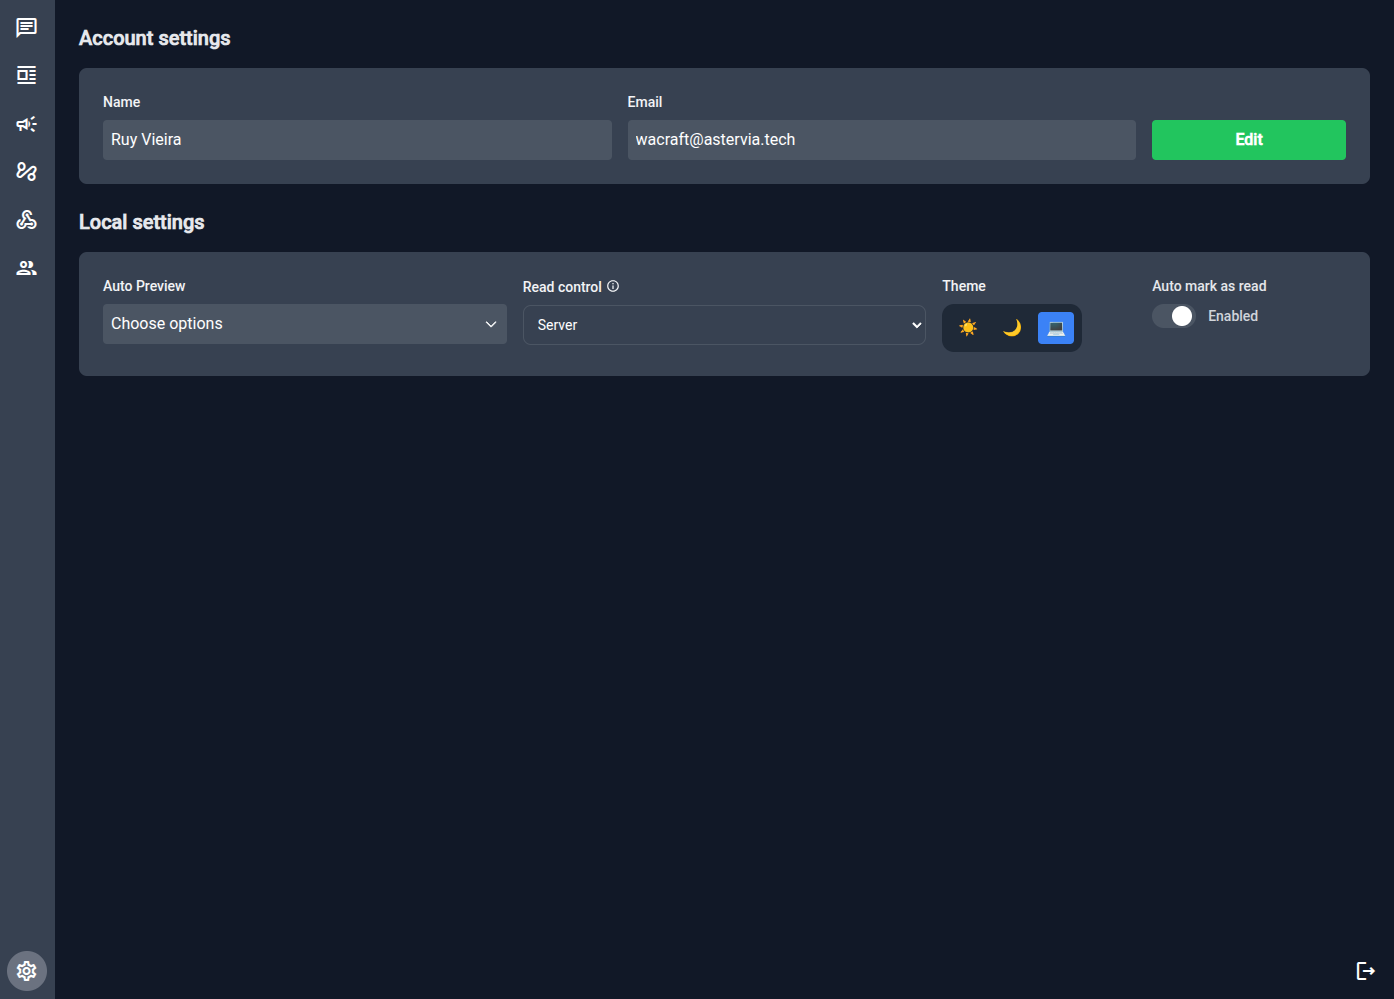
- Read control: decide whether read receipts are manual or synced from the server.
- Theme switcher: Light, Dark, or System (auto).
- Auto preview & mark as read: tweak message behaviour only for your browser.
4 — Phone Configs (/phone-configs)
Manage the WhatsApp phone numbers connected to this workspace. Click New Phone Config to add a number.
See Phone Config Guide for field descriptions and a full walkthrough.
5 — Workspace Members (/workspace-members)
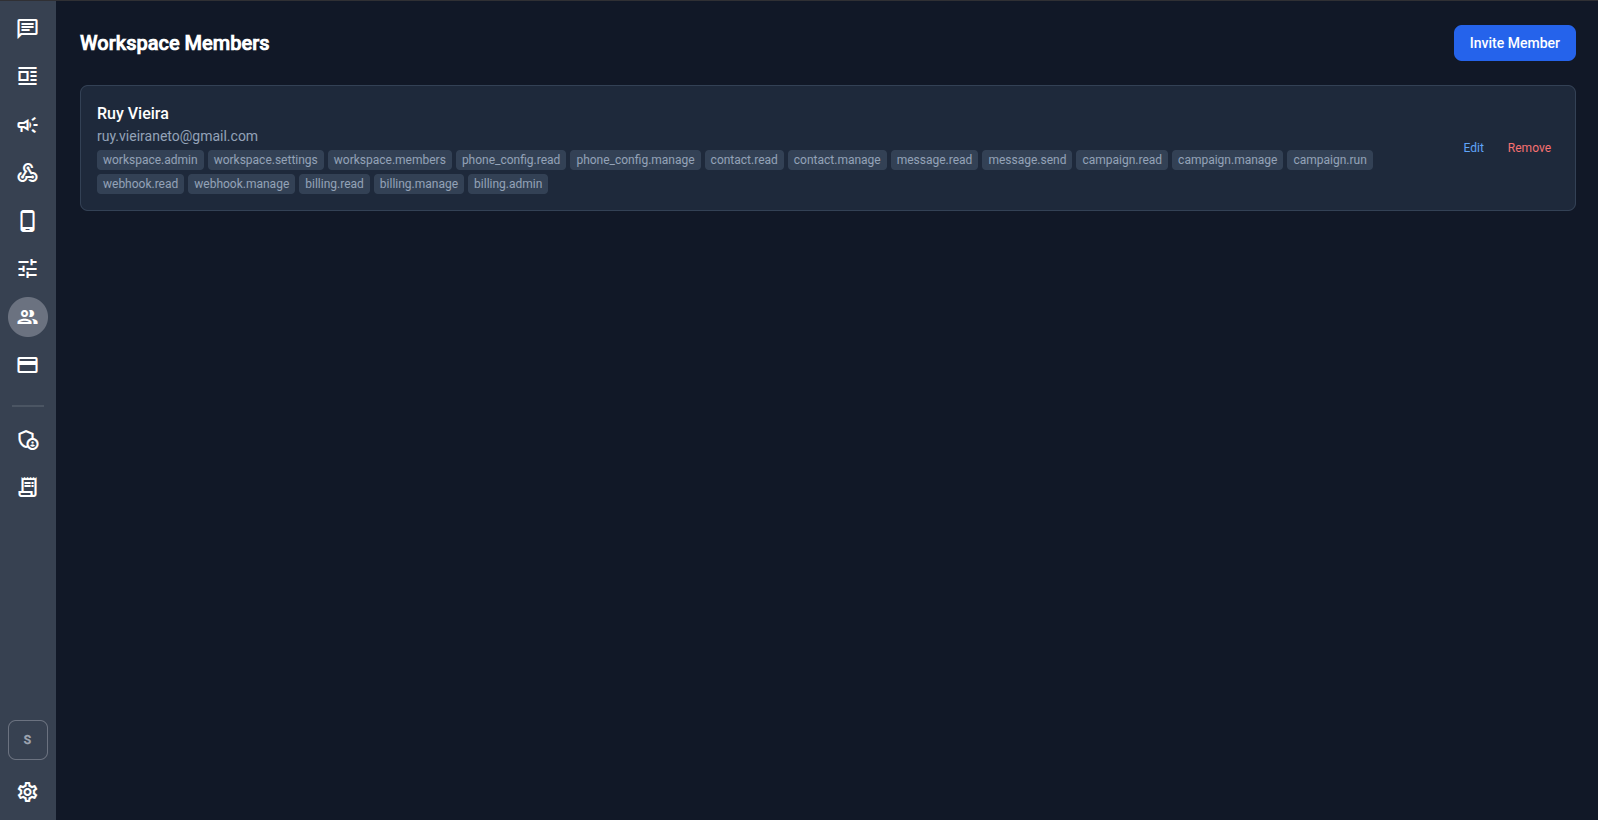
Invite team members and assign them granular policies (e.g. message.send, campaign.run). Click Invite Member to send an invitation.
See Workspaces & Permissions for the full policy reference.
6 — Workspace Settings (/workspace-settings)
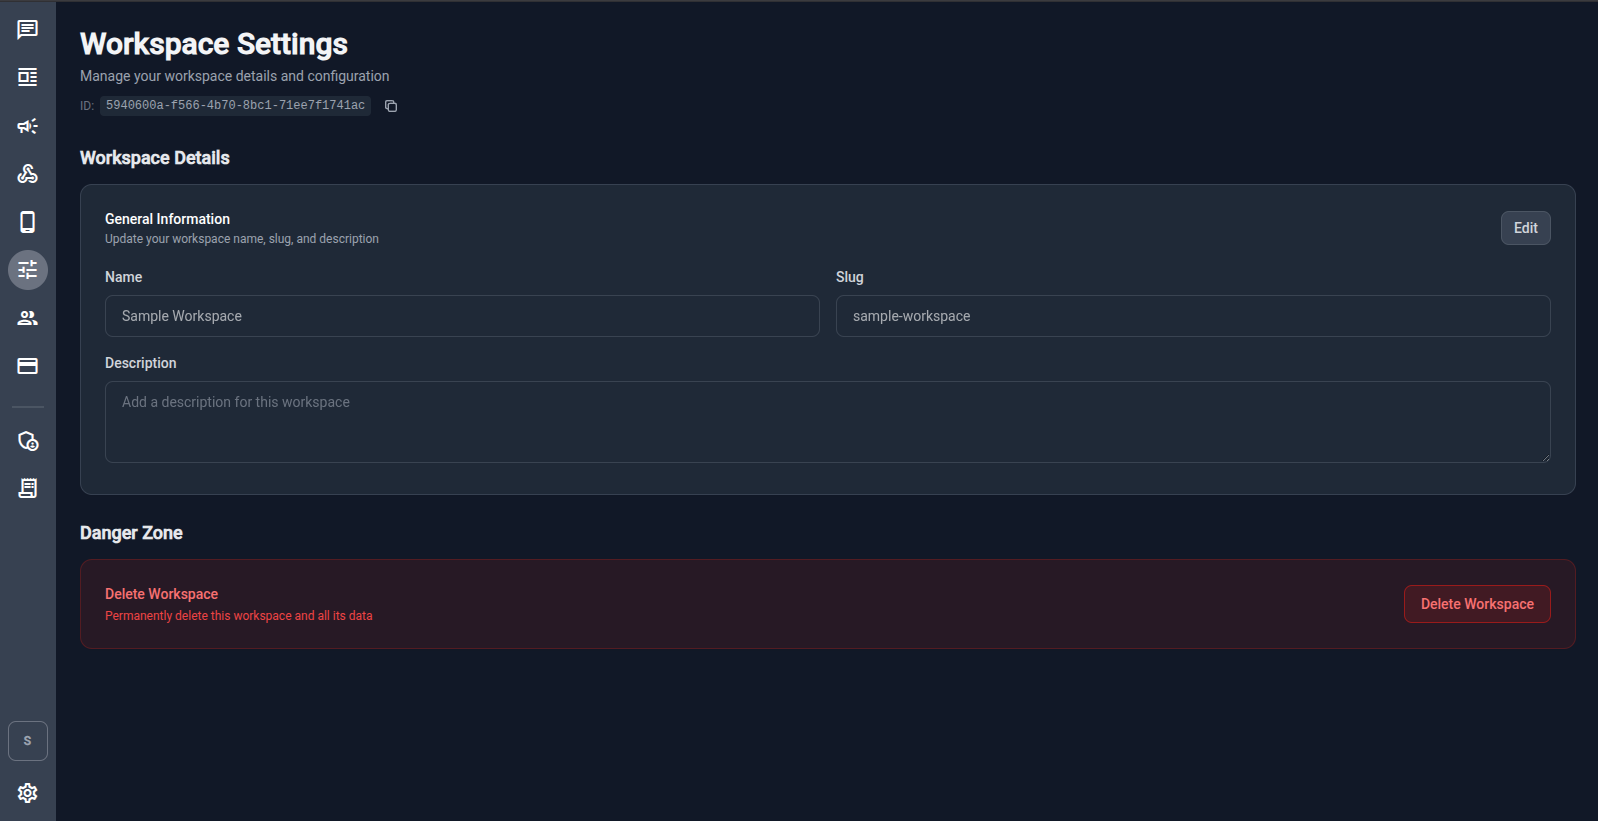
Edit the workspace name, slug, and description. The Danger Zone lets you permanently delete the workspace.
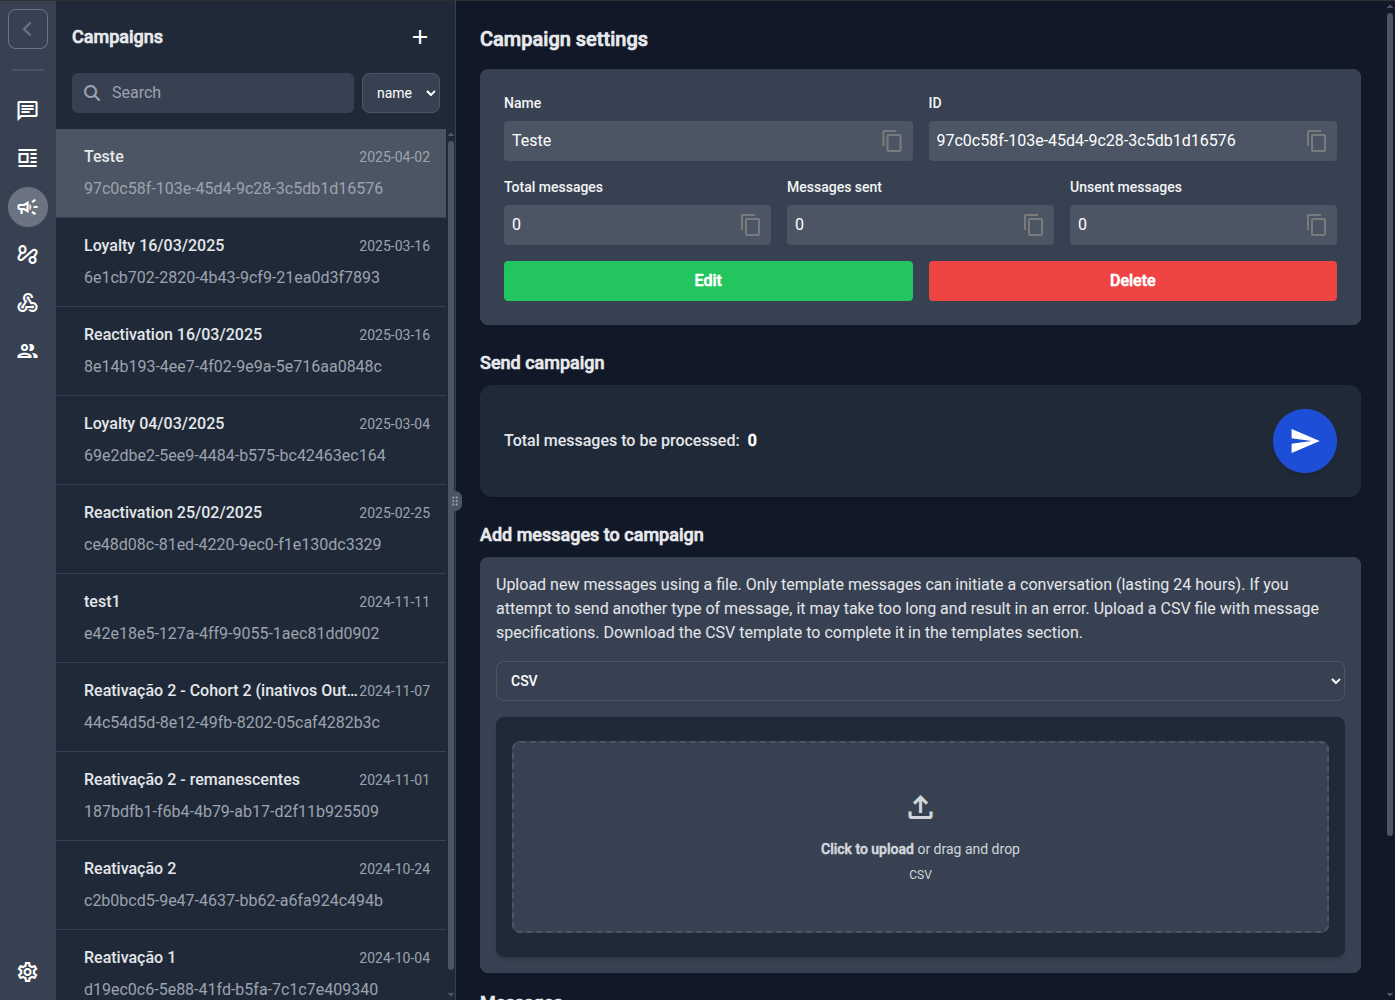
7 — Templates ➡️ CSV ➡️ Campaigns
The fastest way to launch a bulk send is Template → CSV → Campaign.
-
Open Templates in the sidebar. Hover a template and click the 📄 CSV button.
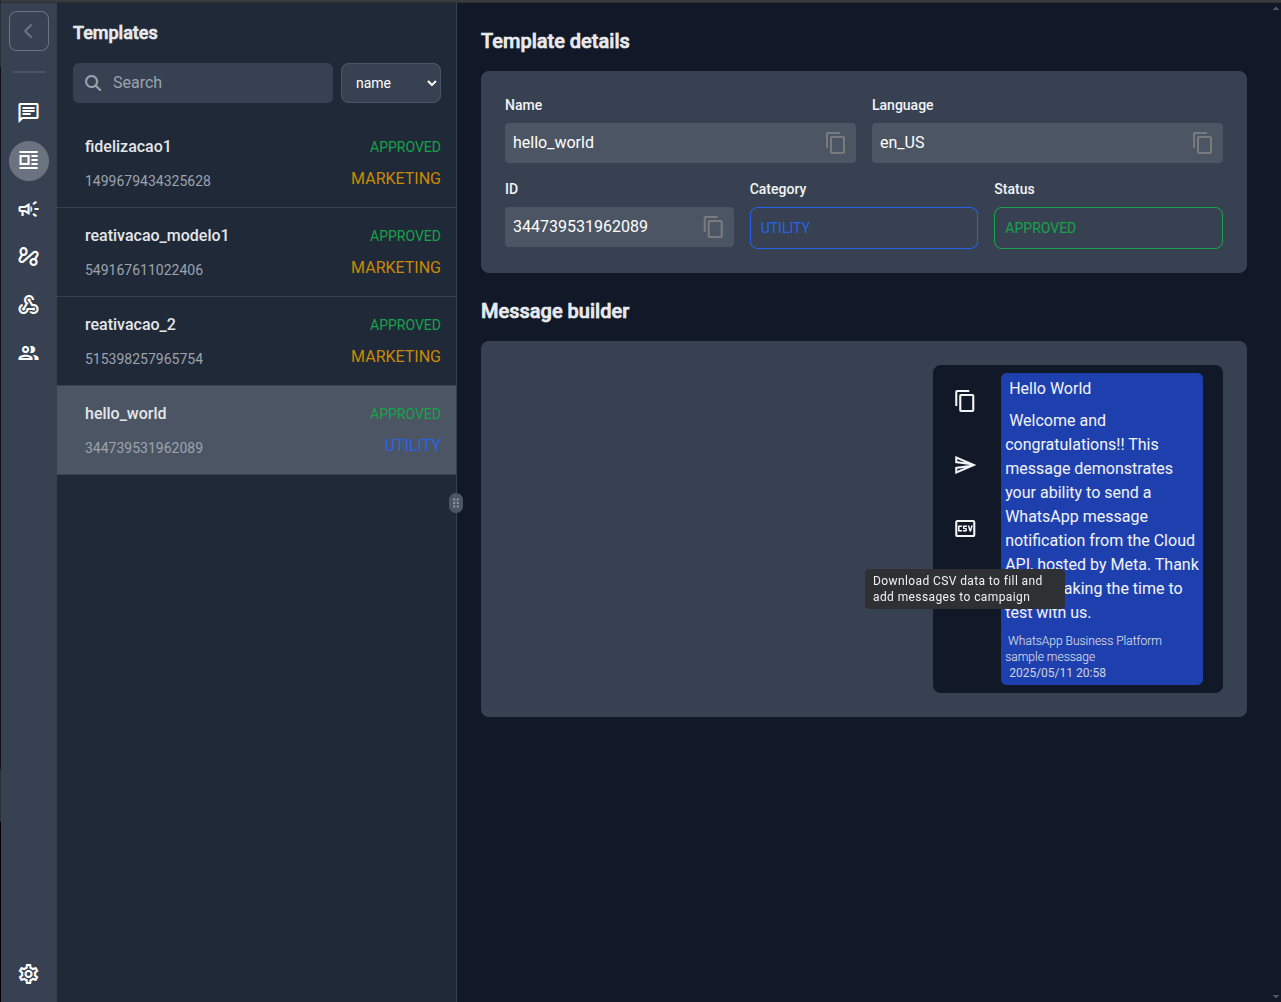
-
A CSV is downloaded with the exact variables required by that template. Fill it: one row per recipient.
messaging_product,recipient_type,to,type,template.name,template.language.code,template.components
whatsapp,individual,1111111111,template,hello_world,en_US,[]
whatsapp,individual,2222222222,template,hello_world,en_US,[]
-
Go to Campaigns and ➕ New Campaign. Give it a name.
-
In Add messages to campaign drag‑and‑drop the CSV or click to upload.
-
Hit the blue Send ▶️ button. Status updates live. That's it!
See Campaigns for a full guide.
8 — Webhooks & Logs
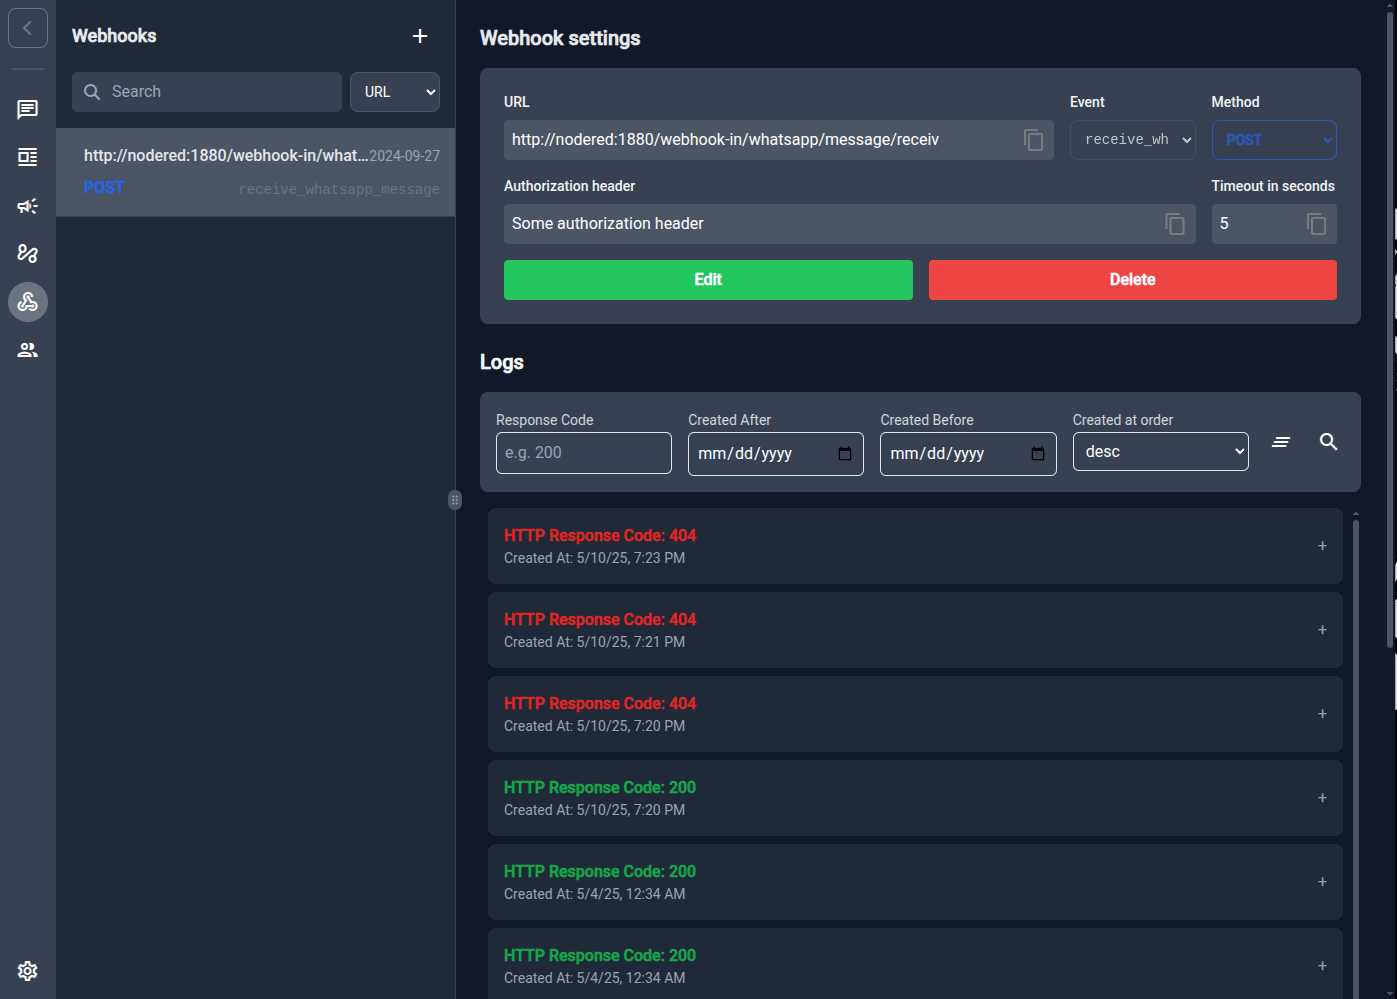
- Register outbound events (e.g. receive_whatsapp_message) with URL, timeout, and optional auth header.
- Wire events to n8n or any HTTP endpoint.
- Built‑in log viewer with code/filter/search to track success and failures.
9 — Billing (/billing)
View your current usage against plan limits and subscribe to throughput plans. See Billing Guide.
10 — Power navigation cheatsheet
| Task | Shortcut |
|---|---|
| Jump to sidebar item 1‑7 | 1 … 7 |
| Global search | Ctrl Shift F |
| Focus text input in chat | Ctrl Y |
| Open Help / Shortcuts | Ctrl / |
| Reply to message | Ctrl R |
| Open message data | Ctrl D |
Shift Esc closes any modal/dialog instantly.
11 — What's next?
- Workspaces & Permissions — manage team access.
- Billing — subscribe to throughput plans.
- Phone Config — add more phone numbers.
- Build CSV campaigns at scale — see Campaigns.
Happy messaging 🚀